Overview of Alchemy in Cataclysm Classic
Alchemy in Cataclysm Classic fuels raids and dungeons‚ crafting essential potions‚ flasks‚ and transmuting valuable items. It unlocks high‑value recipes‚ supports other professions‚ and offers daily transmute income‚ making it a cornerstone for gear and economy.!!
Role and Importance
Alchemy stands as a pivotal profession in Cataclysm Classic‚ weaving together combat support‚ economic leverage‚ and inter‑profession synergy. At its core‚ Alchemy produces a spectrum of consumables—potions‚ flasks‚ and elixirs—that grant buffs‚ health regeneration‚ and damage mitigation‚ essential for both raid rotations and solo progression. The daily transmute mechanic‚ which converts common ores into gold‚ offers a steady income stream that can fund gear upgrades‚ vendor purchases‚ and other profession needs. Moreover‚ Alchemy unlocks unique transmutation recipes that transform raw materials into rare items‚ providing critical components for blacksmithing‚ engineering‚ and jewelcrafting. This cross‑trade utility elevates Alchemy from a simple crafting skill to a strategic resource hub. Players who master Alchemy gain a competitive edge in content‚ as they supply their group with high‑tier consumables‚ secure valuable transmute profits‚ and contribute to the broader economy. Therefore‚ Alchemy’s role is not merely supplemental; it is integral to maximizing efficiency‚ wealth‚ and group synergy in Cataclysm Classic.
In addition‚ Alchemy’s ability to create rare transmuted items ensures that players can supply high‑tier gear components‚ making the profession indispensable for end‑game content and guild economies.
Mastering Alchemy unlocks Transmute Mastery‚ transmute income top
Key Benefits
Alchemy in Cataclysm Classic delivers a suite of advantages that elevate both individual and group performance. First‚ the profession supplies high‑tier potions and flasks—such as Greater Healing Potion‚ Greater Mana Potion‚ and Flask of the Titans—granting critical buffs during dungeons‚ raids‚ and PvP. These consumables reduce downtime‚ increase damage output‚ and improve survivability‚ making Alchemy indispensable for any raid team. Second‚ daily transmute offers a reliable income stream: converting common ores into gold yields roughly 200–300 gold per day‚ and with Transmute Mastery the bonus can reach 350 gold‚ providing a steady source of funds for gear‚ vendor purchases‚ and other professions. Third‚ transmutation recipes unlock rare items needed by blacksmithing‚ engineering‚ and jewelcrafting‚ creating a symbiotic relationship that strengthens the entire economy. Fourth‚ Alchemy’s low skill cap and fast leveling path allow players to reach level 450 quickly‚ unlocking advanced recipes such as Transmute: Shadow‚ Transmute: Arcane‚ and Transmute: Life‚ which are essential for end‑game content. Finally‚ the profession’s synergy with other trades—especially the ability to produce reagents for enchanting and gemming—makes it a cornerstone for maximizing gear value and maximizing in‑game wealth. Players can also boost guild economies.
Starting Out: Costs and Initial Steps
Begin with 1500‑2000 gold to buy reagents‚ learn Alchemy at level 1‚ complete the Mastery quest‚ gather herbs‚ and craft first potions. Prioritize Healing and Mana potions for early leveling‚ then move to transmute recipes for steady income and keep a log of daily profits.

Startup Costs Overview
Starting an Alchemy career in Cataclysm Classic requires a modest initial investment‚ typically ranging from 1‚500 to 2‚000 gold. This budget covers the basic reagents needed to reach level 1‚ the first few batches of potions‚ and the essential items for the Mastery quest. The Mastery quest itself is a pivotal milestone; it unlocks the Transmute Mastery ability‚ granting a 20% chance to receive an additional 350 gold bonus on each successful transmute. Once Mastery is achieved‚ daily transmute becomes a reliable income stream‚ averaging around 200 gold per day‚ which can quickly offset the upfront costs. It is advisable to purchase a balanced mix of common herbs such as Peacebloom‚ Earthroot‚ and Briarthorn‚ as these provide the most efficient experience gains and are inexpensive. Additionally‚ investing in a few rare reagents like Sapphiron’s Tear or Black Lotus can accelerate early progress‚ though they are optional. The cost of the Mastery quest is effectively covered by the daily transmute earnings‚ making the profession highly profitable after the initial level‑up phase. For players beyond 450‚ reagent costs rise‚ but ROI remains strong due to high demand for advanced potions and transmuted items in raids and dungeons. In summary‚ a 1‚500–2‚000 gold budget and daily transmute set a solid foundation for Alchemy in Cataclysm Classic.
First 10 Levels: Key Recipes
At the outset‚ Alchemists focus on foundational potions that yield experience and gold. Level 1–5 recipes include Healing Potion‚ Minor Mana Potion‚ and Lesser Healing Potion‚ all crafted from common herbs like Peacebloom‚ Earthroot‚ and Briarthorn. These items provide a steady income and are essential for early quests. By level 7‚ the Alchemist unlocks the ability to create Greater Healing Potion and Greater Mana Potion‚ which require more valuable reagents such as Briarthorn and Searing Thistle. These potions are highly demanded in dungeons‚ boosting both experience and profitability. At level 9‚ the first transmutation recipe‚ Transmute: Small Elemental Fire‚ becomes available‚ allowing the conversion of 10 Small Elemental Fire into 1 Small Elemental Earth. This early transmute is a reliable source of gold‚ especially when combined with the Mastery quest’s bonus. Finally‚ by level 10‚ Alchemists can craft the powerful Elixir of Minor Agility‚ a key consumable for raiders‚ using ingredients like Searing Thistle and Peacebloom. Mastery of these recipes establishes a solid foundation for further progression and establishes the Alchemist as a valuable contributor to group content. These early recipes provide steady income and essential experience‚ letting alchemists reach higher‑level transmutations.!
Mastery Quest and Transmute Mastery
In Cataclysm Classic‚ the Alchemy Mastery quest is a pivotal milestone that unlocks the coveted Transmute Mastery perk‚ granting a 20% chance to receive a bonus 350 gold per transmutation. The quest‚ located in the Emerald Dream‚ requires the Alchemist to gather 10 Transmute: Small Elemental Fire‚ 10 Transmute: Small Elemental Water‚ and 10 Transmute: Small Elemental Earth‚ each crafted from 10 elemental shards. Upon completion‚ the player receives the Transmute Mastery scroll‚ which permanently enhances the daily transmute rate. Players often queue for the quest early‚ as the bonus gold can significantly offset the 1‚500–2‚000 gold startup cost for leveling to 450. Completing this quest also grants a perm 20% increase to the value of all transmuted items‚ making daily transmute a reliable source of income for any Alchemist!for players
Recipes and Crafting Priorities
Prioritize potions and flasks for raid buffs‚ then daily transmute for gold. Focus on high‑value recipes like Flask of the Titans‚ Elixir of Major Strength‚ and Transmute: Small Elemental Fire. Keep a balanced inventory for demand and profit. and maximize profit.
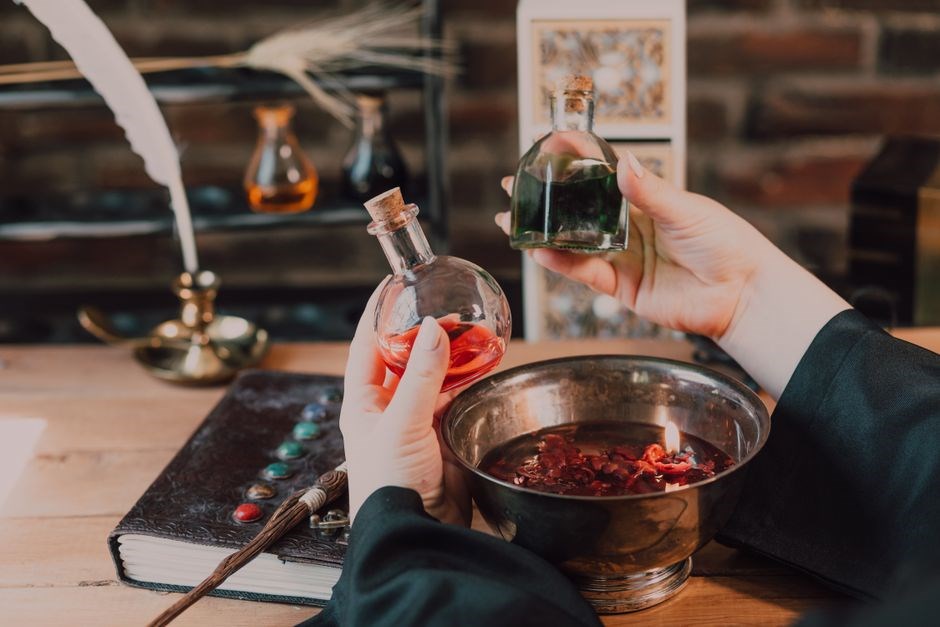
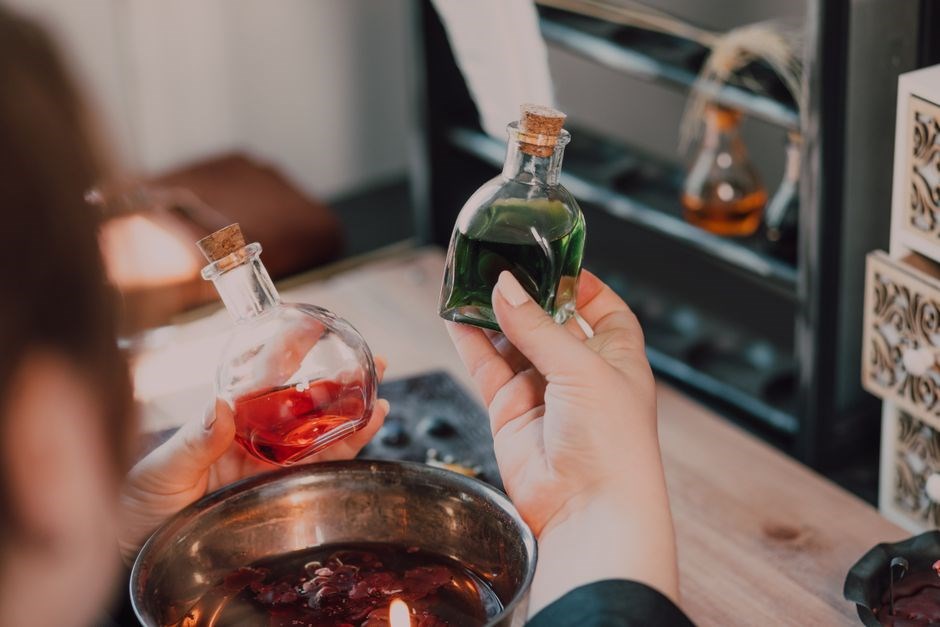
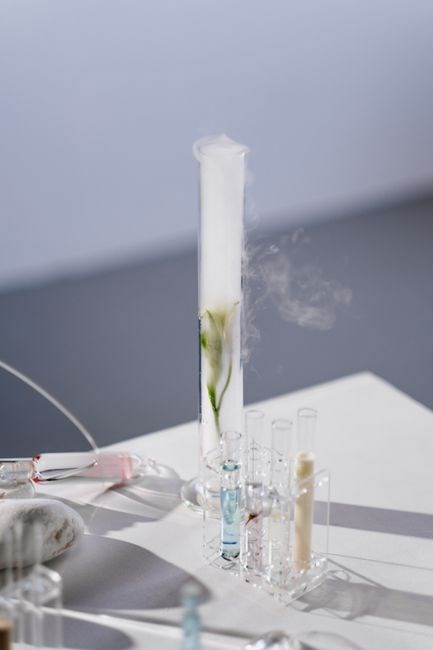
Essential Consumables (Potions & Flasks)

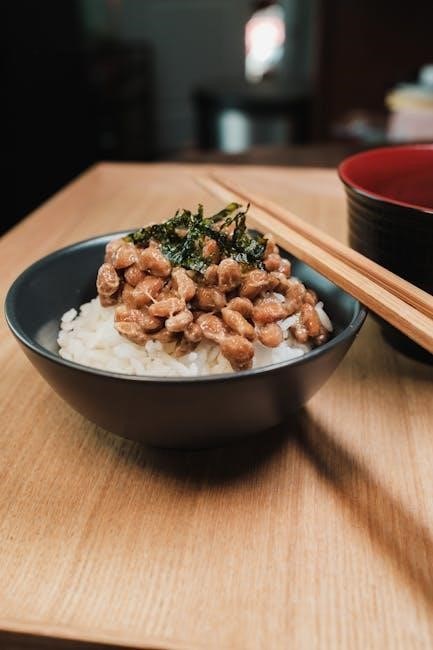
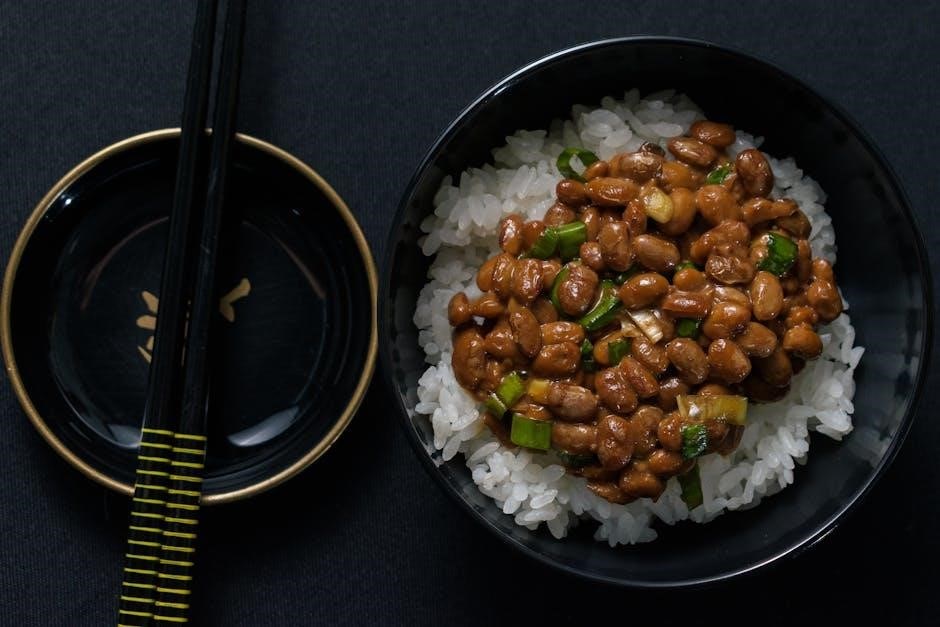
In Cataclysm Classic‚ alchemists must master a core set of potions and flasks that provide the most consistent raid and dungeon benefits. The primary focus is on the Flask of the Titans‚ which grants a massive 100% bonus to all stats for 10 minutes and is essential for any high‑level content. Alongside it‚ the Flask of the Archmage offers a 20% increase to spell power‚ making it invaluable for mages and healers. For burst damage‚ the Elixir of Major Strength and Elixir of Major Agility are top choices‚ each boosting the target stat by 20% for 30 minutes. These elixirs are also critical for PvP‚ providing a decisive edge in skirmishes.
Furthermore‚ the Elixir of Major Healing and Elixir of Major Mana are prized by healers and casters‚ respectively‚ each providing a 20% boost to healing output or mana regeneration for 30 minutes. These elixirs are often crafted in bulk during raid windows to meet the high demand. The Potion of the Damned remains a staple for tanking‚ restoring 20% of total health‚ while the Potion of the Wild offers a 10% stat increase‚ useful for all classes. Keeping a steady stock of these items ensures consistent income and reliability during high‑level content.
Keep an eye on auction house prices; during raid windows‚ Flask of the Titans can fetch up to 5 gold each!!!
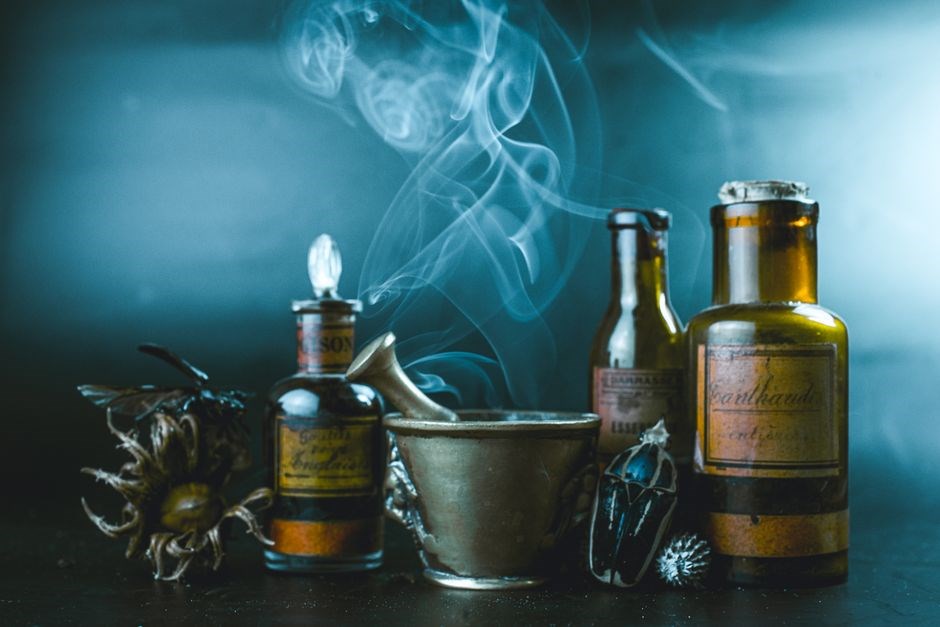
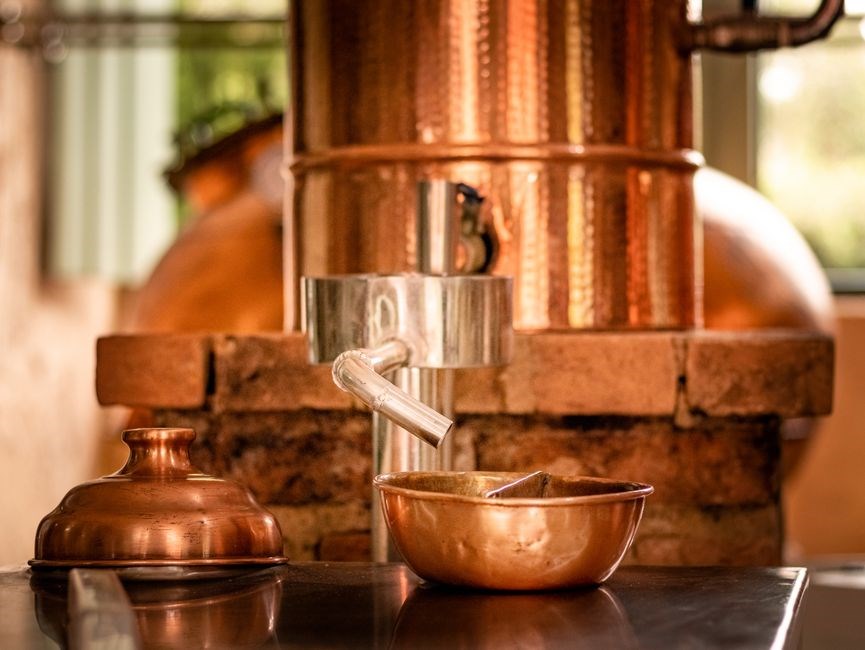
Transmutation Recipes and Daily Transmute
Transmutation is the cornerstone of alchemy’s economic engine in Cataclysm Classic. At level 75‚ alchemists unlock the first transmute recipe‚ converting common items into valuable materials. The most sought‑after transmute is the Transmute: Earth to Fire‚ turning 10 Earthstones into 10 Firestones‚ which are used in high‑tier gear. Daily transmute yields 200 gold per character‚ with a 20% chance to grant a bonus of 350 gold if the transmute mastery quest is completed. This bonus can dramatically increase earnings‚ especially for players who run multiple characters. Players should prioritize gathering the required raw materials—Earthstones‚ Firestones‚ and other elemental items—by farming dungeons‚ harvesting from mobs‚ and buying from the auction house. The daily transmute slot refreshes every 24 hours‚ so timing is crucial; logging in early maximizes the chance to hit the bonus. Additionally‚ the transmute mastery quest provides a permanent 20% increase to all transmute outputs‚ effectively raising daily income from 200 to 240 gold on average; Mastery also unlocks advanced recipes such as Transmute: Earth to Water and Transmute: Fire to Earth‚ which further diversify income and provide essential components for flasks and potions. Maintaining a steady supply of transmute materials and completing the mastery quest are essential for any alchemist looking to maximize profits in Cataclysm Classic. Daily transmute supports raid prep‚ ensuring every group has the needed potions and flasks ready!!!;
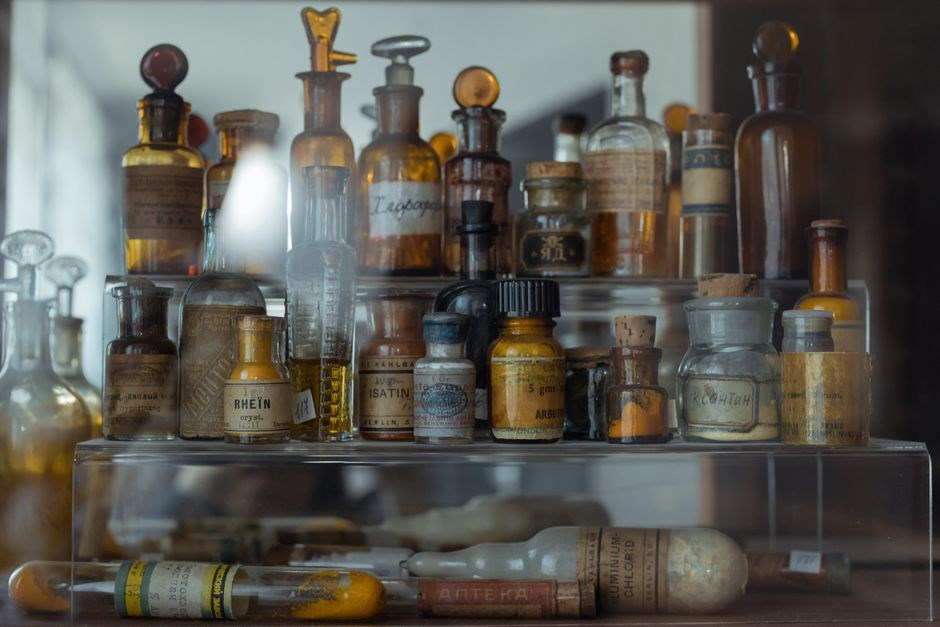
High‑value rare recipes are the secret sauce that turns an average alchemist into a gold‑making powerhouse in Cataclysm Classic.
The most coveted items include the Potion of the Dragonflame‚ which grants a massive 30‑second damage boost for fire‑based classes; the Flask of the Titans‚ a 15‑minute buff that increases strength‚ agility‚ and intellect by 15% each; and the Elixir of the Dragon’s Breath‚ a 10‑minute increase in spell power and critical strike chance for spell‑casters.
These potions are not only prized for their raid utility but also for their high auction house prices‚ often fetching between 3‚000 and 5‚000 gold per vial.
To craft them‚ alchemists must first acquire the prerequisite rare ingredients: Dragon’s Blood‚ which drops from the high‑level raid boss Ragnaros; the Essence of the Titans‚ harvested from the Titan Forge; and the Breath of the Dragon‚ a rare drop from the dragonflight.
The recipe for each item is learned at level 70‚ 75‚ and 80 respectively‚ and each requires a minimum of 50 skill points to produce.
Because these recipes are limited to a single use per character per day‚ alchemists often queue multiple characters to maximize output.
Rare recipes combine with daily transmute; transmuting Earth to Fire yields Firestones to craft the Flask of the Titans‚ yielding up to 10000 gold per day when run efficiently.

Gear‚ Stats‚ and Enhancements
Alchemists prioritize intellect‚ spirit‚ and stamina. Enchantments like “Intellect +5” and gems such as “Sapphire” boost potency. Pairing with other crafts‚ like blacksmithing‚ maximizes potion output and raid support. Daily income rises
Stat Priorities for Alchemists
In Cataclysm Classic‚ alchemists rely on a stat that maximizes potency and transmutation efficiency. The core of this profile is intellect‚ which directly increases the damage of alchemical consumables and the speed of transmute operations. Spirit is the next priority‚ as it boosts the duration of buffs and the regeneration of mana‚ ensuring that alchemists can sustain long‑running raid rotations without interruption. Stamina is also essential‚ providing the survivability needed to stay in the front lines while crafting or transmuting. Secondary stats such as critical strike‚ haste‚ and mastery should be considered only after the primary triad is satisfied; they can be sacrificed for higher intellect or spirit. Gear selection should focus on items that offer these primary stats‚ with a preference for pieces that also provide a bonus to alchemy skill or transmute success. Enchantments like “Intellect +5” or “Spirit +5” and gems such as “Sapphire” or “Amethyst” are ideal choices. Additionally‚ alchemists should invest in gear that grants a bonus to transmute mastery‚ as this increases a successful transmute and cost transmutation. By adhering to this stat hierarchy‚ alchemists can produce high‑quality potions‚ maintain a steady income from transmutation‚ and contribute effectively to raid and dungeon content.
Enchanting and Gemming Options
When gearing an alchemist in Cataclysm Classic‚ the enchantment and gemming strategy must prioritize intellect‚ spirit‚ and transmute mastery. The most sought‑after ring enchant is “Transmute Mastery +5‚” which boosts the success rate of daily transmute by 5% and is available on all rings. For a stronger effect‚ “Transmute Mastery +10” can be applied to rings or trinkets‚ raising the bonus to 10% and providing a significant income boost. On weapons‚ the “Intellect +5” enchant is a staple‚ adding both intellect and a small transmute bonus. For armor‚ “Spirit +5” is the go‑to enchant‚ enhancing mana regeneration and the duration of alchemical buffs. Gems are equally critical: a “Sapphire” or “Amethyst” gem on any socket adds 5 intellect‚ while a “Citrine” gem adds 5 spirit. The rare “Transmute Mastery” gem‚ available on trinket sockets‚ grants a 5% increase to transmute success and is a top‑tier choice for high‑level gear. When selecting gems‚ always opt for the highest socket bonus that matches the primary stat profile—intellect for consumable potency‚ spirit for sustain‚ and transmute mastery for income. Combining these enchants and gems ensures that alchemists can produce the most powerful potions‚ maintain a steady transmutation income‚ and stay competitive in raid and dungeon environments.Maximize alchemist income daily now.
Professional Synergy with Other Trades
Alchemy’s value extends beyond consumables; it is a linchpin for many other professions. Blacksmiths rely on alchemical reagents to craft high‑tier weapons and armor‚ while engineers use transmuted materials for gadgets and explosives. The daily transmute income fuels a steady stream of gold that can be invested in rare crafting materials‚ making alchemy a cornerstone of the in‑game economy. Moreover‚ alchemists provide essential potions—such as the powerful “Potion of the Storm” and “Flask of the Archmage”—which are indispensable for raid groups and PvP players. These consumables are often sold to or requested by other trades‚ creating a reciprocal relationship that benefits all parties. By maintaining a robust transmute operation‚ alchemists can supply blacksmiths with transmuted iron and other metals at a fraction of the market price‚ while engineers can acquire transmuted crystal for their advanced devices. This synergy not only maximizes profit but also ensures that each profession can operate at peak efficiency‚ fostering a collaborative ecosystem within the Cataclysm Classic community. Additionally‚ alchemists can collaborate with jewelers to create rare gem‑infused potions‚ while tailors can use transmuted silk to produce cloth items‚ expanding the very network and maximizing overall output!