Nikon Coolpix Manual: A Comprehensive Guide
This comprehensive guide details setup, operation, and troubleshooting for Nikon Coolpix cameras, ensuring users maximize their photographic experience.
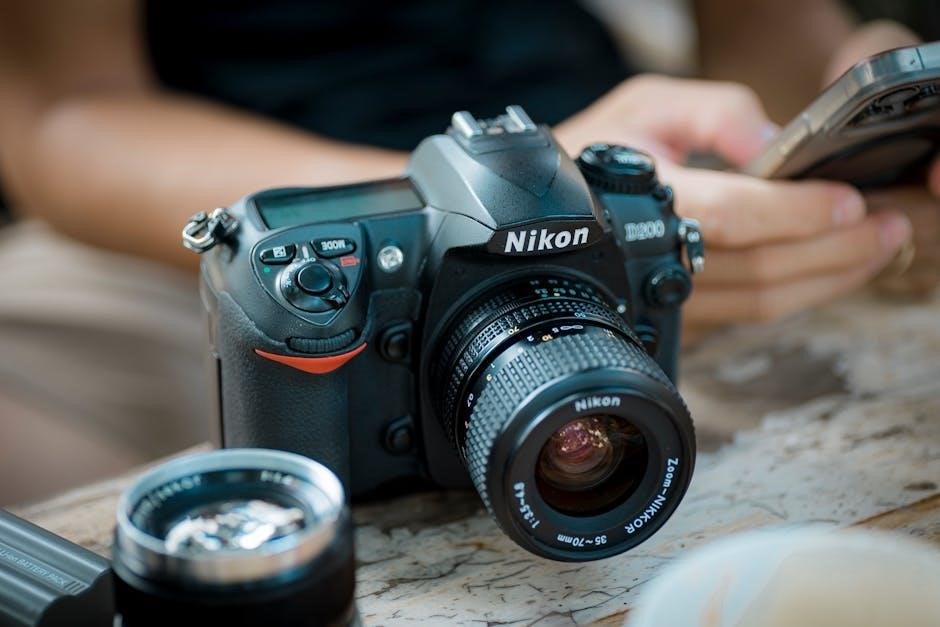
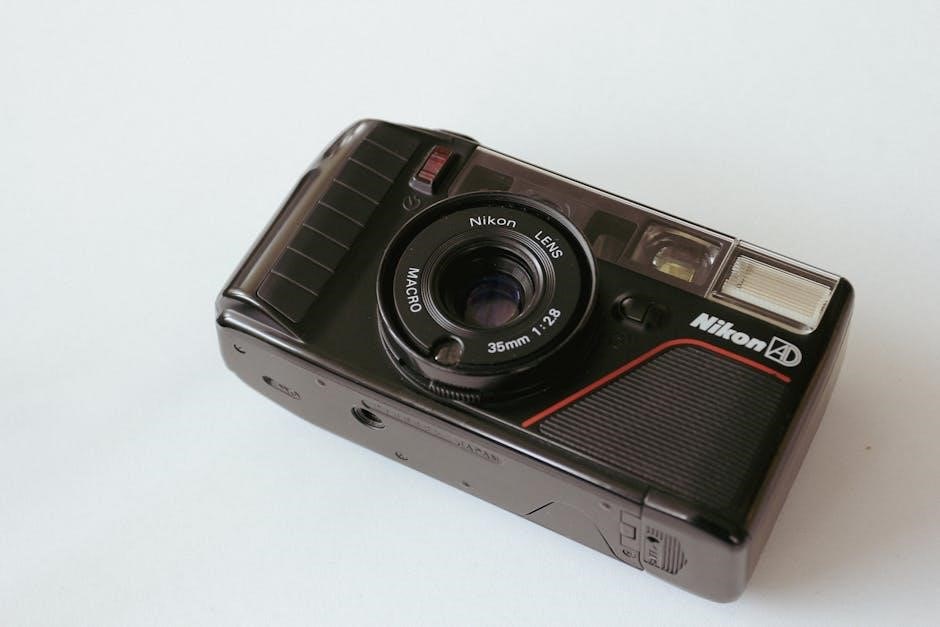
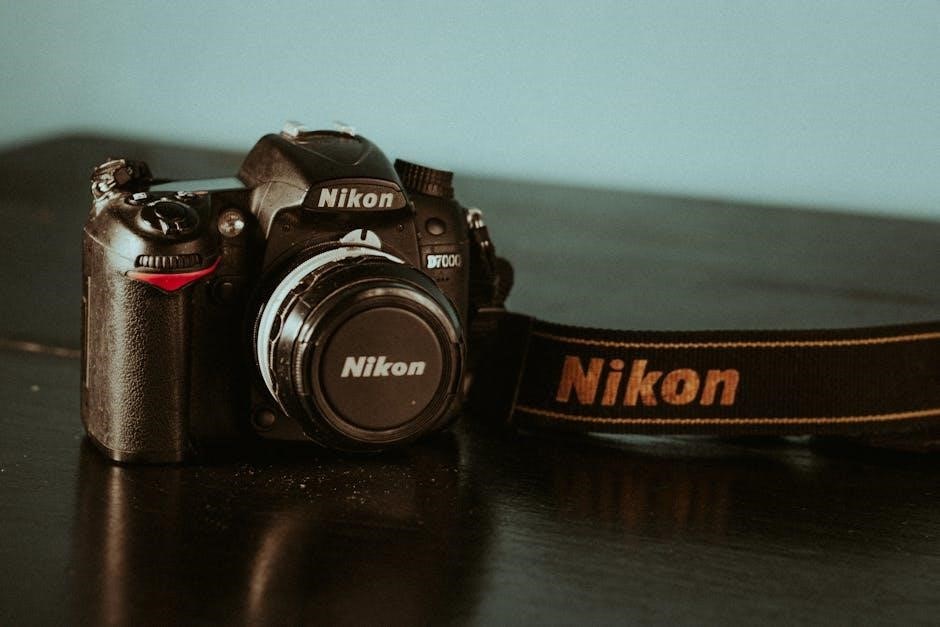
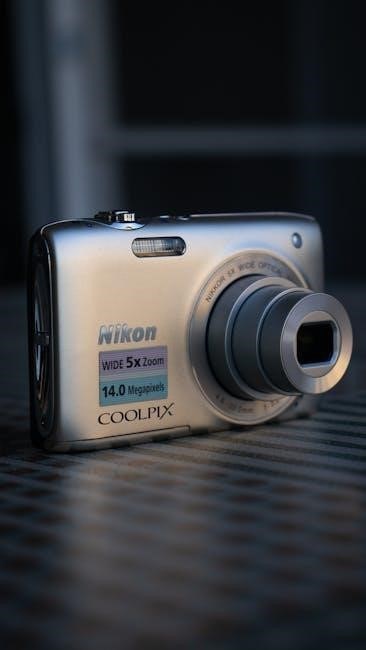
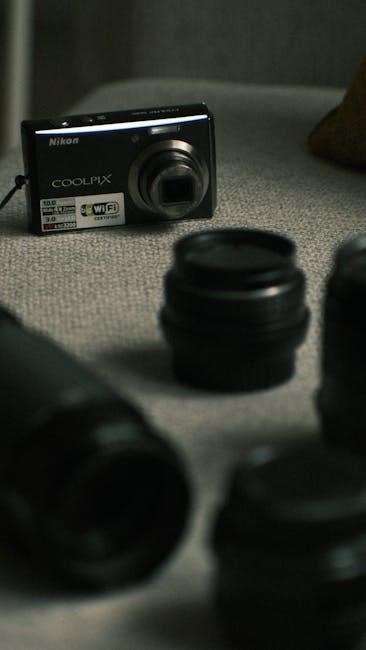
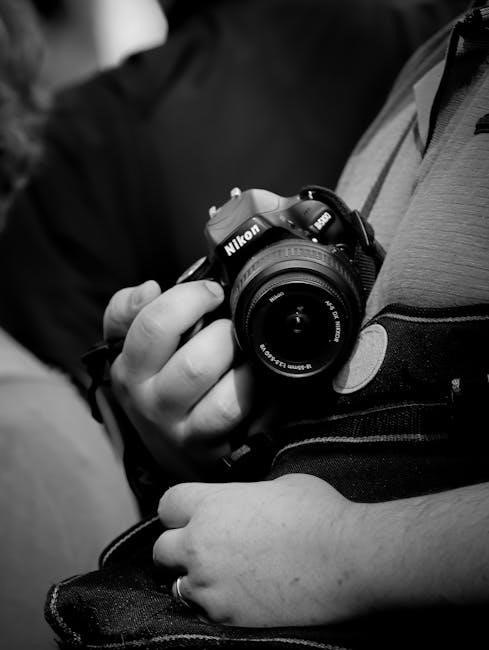
The Nikon Coolpix series represents a long-standing commitment to accessible and innovative digital photography. From its inception, Coolpix cameras have aimed to deliver high-quality images with user-friendly operation, catering to both beginners and enthusiasts. This diverse range includes models like the P1000, L2, L3, and L4, each offering unique features and capabilities.
Nikon consistently provides quick start guides and downloadable software, such as ViewNX-i, to enhance the user experience. These cameras are designed for ease of use, allowing photographers to capture memorable moments effortlessly. The series’ enduring popularity stems from its blend of performance and simplicity.
Understanding Coolpix Model Variations
The Nikon Coolpix lineup showcases significant variation, catering to diverse photographic needs. Models like the P1000 boast advanced features, including powerful zoom capabilities (3x Optical Zoom, 6.3-19.2mm), while others, such as the L2, L3, and L4, prioritize simplicity and portability. Zoom ranges differ (6.3-18.9mm), alongside aperture settings (f/2.8-4.9).
Understanding these distinctions is crucial for selecting the right camera. Some models require separately purchased SD, SDHC, or SDXC memory cards. Nikon provides specific manuals for each model, guiding users through unique functionalities and ensuring optimal performance tailored to their chosen Coolpix camera.
Getting Started with Your Coolpix Camera
Begin your photographic journey by unpacking your Coolpix, inserting a compatible memory card (SD, SDHC, SDXC), and fully charging the battery for optimal use.
Unboxing and Initial Setup
Carefully unpack your new Nikon Coolpix camera, verifying all included accessories are present. These typically include the camera body, battery, battery charger, and potentially a USB cable or strap. Before first use, attach the wrist strap for secure handling.
Initial setup involves selecting your preferred language, date, and time settings. The camera will guide you through this process on the LCD screen. Ensure you register your product online for warranty benefits and access to future software updates. Download ViewNX-i software to facilitate image transfer and organization on your computer.
Inserting and Formatting Memory Cards (SD, SDHC, SDXC)
Locate the memory card slot, typically on the camera’s side or bottom, and gently insert a compatible SD, SDHC, or SDXC card. Ensure the card clicks securely into place. Formatting the card is crucial before first use, and periodically thereafter, to optimize performance and prevent errors.
Access the formatting option through the camera’s menu system. Be aware that formatting erases all data on the card, so back up any existing images beforehand. The camera will confirm the formatting process upon completion. Using a compatible card ensures optimal image and video storage.
Charging the Battery
Connect the provided AC adapter to the camera and a wall outlet using the USB cable. A charging indicator light will illuminate, typically red or orange, signifying the charging process has begun. Allow sufficient time for a full charge, which can take several hours depending on the battery’s current level.
Avoid interrupting the charging cycle until the indicator light changes, usually to green, indicating a full charge. Disconnect the adapter once charging is complete. Proper battery care extends its lifespan and ensures reliable camera operation.
Camera Controls and Functions
Explore essential controls like the power button, mode dial, zoom, and focus features to master your Nikon Coolpix camera’s capabilities effectively.
Power Button and Mode Dial
The power button initiates camera operation, while the mode dial selects shooting modes – Auto, Scene, and Manual. Understanding these is crucial for control. Auto mode simplifies settings for beginners, while Scene modes optimize for portraits, landscapes, or sports. Manual mode grants full aperture, shutter speed, and ISO control. Rotate the dial to your desired setting, ensuring a firm click indicates selection. Familiarize yourself with each mode’s function to unlock your Coolpix’s full potential. Proper use of these controls allows for creative flexibility and optimal image capture in various conditions, enhancing your photographic journey.
Navigating the Menu System
The Coolpix menu, accessed via the menu button, organizes settings into categories like image quality, shooting options, and setup. Use the directional pad or touchscreen (if equipped) to navigate. Explore each section to customize your camera. ViewNX-i software, downloadable from Nikon’s website, aids in transferring and managing images. Remember to save any changes made within the menu. A clear understanding of the menu structure is vital for tailoring the camera to your preferences, unlocking advanced features, and achieving optimal photographic results. Regularly review settings for efficient operation.
Zoom Control and Focus Modes
Coolpix cameras feature both optical and digital zoom; prioritize optical zoom for superior image quality. The zoom lever controls magnification. Explore various focus modes – Auto, Macro, and Manual – to suit your subject. Auto focus is ideal for general shooting, while Macro excels at close-ups. Understanding these modes is crucial for sharp, well-defined images. Utilize focus lock to recompose shots after achieving focus on a specific point. Proper zoom and focus technique significantly impacts image clarity and overall photographic success, enhancing your creative control.
Shooting Modes Explained
Explore diverse shooting modes, from fully automatic simplicity to manual control, allowing photographers of all levels to capture stunning images with ease.
Auto Mode for Beginners
Auto mode is the simplest way to start taking pictures with your Nikon Coolpix. The camera automatically adjusts settings like exposure, focus, and white balance, making it ideal for beginners or quick snapshots. Simply point and shoot – the Coolpix intelligently analyzes the scene and optimizes settings for the best possible results.
This mode eliminates the need to understand complex photographic principles, allowing you to focus on composition and capturing the moment. While offering convenience, remember that Auto mode provides less creative control compared to other shooting modes. It’s a fantastic starting point to build confidence and explore your camera’s capabilities.
Scene Modes (Portrait, Landscape, Sports, etc.)
Scene modes offer pre-configured settings optimized for specific shooting situations. Your Nikon Coolpix likely includes modes like Portrait, Landscape, Sports, Night Portrait, and more. Portrait mode prioritizes subject focus with a blurred background, while Landscape enhances colors and sharpness for expansive views.
Sports mode utilizes faster shutter speeds to freeze action, and Night Portrait balances flash with slower shutter speeds for illuminated subjects against dark backgrounds. These modes simplify achieving desired results without manual adjustments, providing a convenient middle ground between Auto and full Manual control. Experiment with each scene mode to discover their unique benefits!
Manual Mode: Aperture, Shutter Speed, and ISO
Manual mode grants complete creative control over your Coolpix camera. Aperture (f-stop) controls depth of field – lower numbers blur backgrounds, higher numbers keep everything sharp. Shutter speed dictates motion blur; faster speeds freeze action, slower speeds create motion blur. ISO adjusts the camera’s sensitivity to light; lower ISOs produce cleaner images, higher ISOs are useful in low light but can introduce noise.
Mastering these three settings allows for precise image creation. Experiment to understand their interplay and achieve your desired photographic effects. This mode requires practice, but unlocks the full potential of your Coolpix!

Image and Video Settings
Customize your Coolpix with adjustable image quality, resolution, and video options, including frame rates and white balance for optimal results.
Image Quality and Resolution
Selecting the appropriate image quality and resolution is crucial for achieving desired results with your Nikon Coolpix. Higher resolutions capture more detail, ideal for large prints or significant cropping, but require more storage space on your memory card. Options typically include RAW, Fine, Normal, and Basic, each offering varying levels of compression and file size.
RAW format preserves maximum image data for extensive editing, while Fine provides a balance between quality and file size. Normal and Basic offer smaller file sizes, suitable for sharing online or when storage is limited. Consider your intended use when choosing these settings to optimize both image quality and storage efficiency.
Video Recording Options (Resolution and Frame Rate)
Nikon Coolpix cameras offer diverse video recording capabilities, allowing you to capture memories in motion. Resolution options typically include Full HD (1920×1080) and sometimes 4K (3840×2160), impacting video clarity and file size. Frame rate, measured in frames per second (fps), determines video smoothness; 30fps is standard, while 60fps provides a more fluid look, especially for fast-action scenes.
Higher resolutions and frame rates demand more storage space. Consider your intended use – sharing online versus professional editing – when selecting these settings. Experiment to find the optimal balance between quality and file size for your specific needs.
White Balance and Exposure Compensation
Achieving accurate colors requires understanding white balance. Coolpix cameras offer presets like Daylight, Cloudy, and Fluorescent, or a custom setting using a white card. Incorrect white balance results in color casts – images appearing too blue or yellow. Exposure compensation adjusts image brightness; positive values brighten, negative values darken.
Use exposure compensation when the camera’s automatic metering doesn’t yield desired results, like in snowy scenes (tend to underexpose) or backlit situations. Small adjustments often suffice; monitor the LCD screen to fine-tune your settings for optimal image quality.
Connectivity and Software
Transfer photos easily using ViewNX-i software, and connect your Coolpix to TVs or monitors for convenient large-screen image and movie viewing.
Transferring Photos to Your Computer (ViewNX-i)
ViewNX-i software is Nikon’s recommended solution for seamlessly transferring images and movies from your Coolpix camera to your computer. Download the latest version from Nikon’s official Download Center to ensure compatibility and access to the newest features.
Connecting your camera via USB cable allows for direct transfer, while utilizing an SD card reader offers a potentially faster alternative. ViewNX-i provides robust organization tools, basic editing capabilities, and facilitates easy sharing of your captured memories. The software also supports various file formats and offers options for batch processing, streamlining your workflow.
Connecting to a TV or Monitor
Sharing your Coolpix photos and videos on a larger screen is simple! Most Coolpix cameras utilize an HDMI connection via a mini-HDMI port, requiring a compatible HDMI cable (often sold separately). Connect one end to your camera and the other to an available HDMI port on your TV or monitor.
Ensure your TV is set to the correct HDMI input channel; Some older models may also support AV output using a composite video cable, though image quality will be lower. Once connected, navigate your camera’s menu to select the appropriate output setting for display.
Troubleshooting Common Issues
Resolve typical Coolpix problems like power failures, image quality concerns, and memory card errors with our dedicated solutions and helpful guidance.
Camera Not Turning On
If your Nikon Coolpix fails to power on, first ensure the battery is fully charged and correctly inserted. Try a different, known-good battery if available. Verify the power button is pressed firmly and held for a moment.
Check for any obstructions around the battery compartment or power button. A reset might help; remove the battery and any memory cards, then reinsert them after a few minutes.
If the issue persists, consult the camera’s manual for specific troubleshooting steps or contact Nikon support for assistance, as it could indicate a more serious internal problem.
Image Quality Problems
Poor image quality on your Nikon Coolpix can stem from several factors. Ensure the lens is clean, free of smudges and dust, as these significantly impact sharpness. Check the image resolution setting; lower resolutions yield less detail.
Verify sufficient lighting, as low light often results in noisy images. Experiment with different shooting modes – Auto mode may not always select optimal settings.
If problems continue, review the white balance and exposure compensation settings, and consider using ViewNX-i software for post-processing adjustments.
Memory Card Errors
Encountering memory card errors with your Nikon Coolpix is frustrating, but often solvable. First, ensure you’re using a compatible SD, SDHC, or SDXC card – the manual specifies supported types. Try reformatting the card within the camera (this erases all data, so back it up first!).
If the error persists, test a different memory card to isolate the issue. A corrupted card may require replacement.
Avoid removing the card during data transfer. ViewNX-i can sometimes assist in recovering data from problematic cards.
Maintaining Your Coolpix Camera
Regular cleaning of the lens and body, alongside proper battery care and storage, will ensure your Nikon Coolpix camera’s longevity and performance.
Cleaning the Lens and Body
Maintaining a clean lens is crucial for optimal image quality. Use a soft, lint-free cloth specifically designed for lenses to gently remove dust and fingerprints. Avoid harsh chemicals or abrasive cleaners, as these can damage the lens coating. For stubborn smudges, a lens cleaning solution can be applied sparingly to the cloth, not directly onto the lens.
The camera body should also be cleaned regularly. Wipe it down with a soft, dry cloth to remove dust and dirt. For more thorough cleaning, slightly dampen the cloth with water, ensuring no liquid enters any openings. Pay attention to the buttons and dials, ensuring they remain free from debris for smooth operation. Proper cleaning extends the life of your Coolpix camera.
Battery Care and Storage
To maximize battery life, avoid extreme temperatures, as both heat and cold can reduce performance. When not in use for extended periods, store the battery partially charged – around 40-60% is ideal – in a cool, dry place. Completely discharging the battery can lead to irreversible damage and shorten its lifespan.
Always use the Nikon-supplied charger to avoid damaging the battery. Do not leave the battery charging unattended for prolonged periods. Regularly cycling the battery (charging and discharging) helps maintain its capacity. Proper battery care ensures reliable power for your Coolpix adventures.